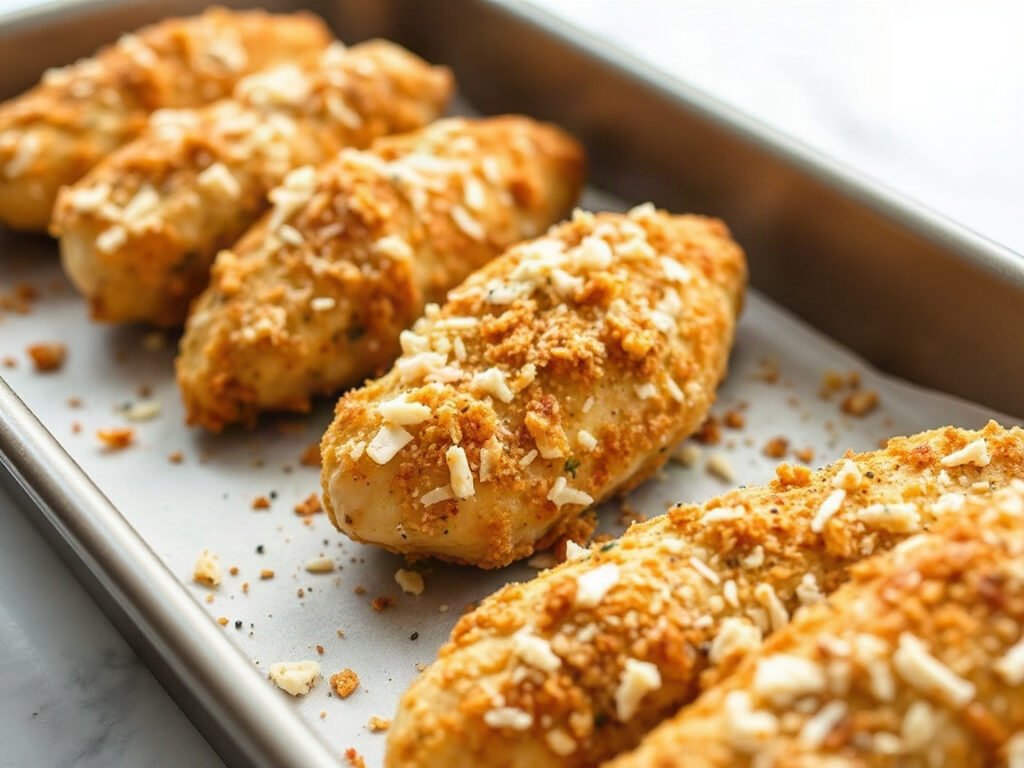
Crispy chicken fingers are the kind of dinner almost everyone is happy with: golden, crunchy on the outside and juicy inside, with a sauce for dipping. This version is baked, not fried, and made for two, with 12 ounces of chicken breast cut into strips, coated in seasoned panko and cooked on a rack in a hot oven. The rack lets hot air reach every side, so the crust stays crisp without a drop of frying oil. Call them chicken fingers, tenders or strips, they come out the same: simple, kid-friendly food that feels like a treat.
Why you’ll like it
- Made for two: about four strips each, with a small batch of sauce.
- Baked, not fried: no pot of hot oil and very little mess.
- Crisp all over: a rack lets the heat reach the underside, so there are no soggy bottoms.
- Simple pantry coating: flour, egg, panko, Parmesan and a few spices.
- Easy dipping sauce: honey, Dijon mustard and mayonnaise, stirred together in a minute.
Chicken fingers, tenders and strips
The names get used loosely. Chicken tenders traditionally come from the tenderloin, a small strip of muscle under the breast, while chicken fingers and chicken strips are usually cut from the breast. In practice, most recipes treat them as the same thing: strips of chicken coated in crumbs and cooked until crisp and golden.
This recipe uses boneless, skinless chicken breast cut lengthwise into strips of about the same thickness. If you have a package of tenderloins, you can use them as they are. Either way, the method and the timing stay about the same, and a thermometer tells you when they are done.
What makes it work
The first secret is the rack. Strips that sit directly on a baking sheet steam on the bottom and turn soft. On a wire rack, hot air flows all around each strip, so the crust crisps on the top and the underside at the same time.
The second is the oven temperature. At 425°F, the panko browns quickly before the lean chicken has a chance to dry out. A light coat of cooking spray on the top of the strips is what helps the crumbs brown, so spray them generously, both before baking and again after the flip.
The third is the coating. A simple three-step dredge of flour, egg and panko builds a crust that clings. The Parmesan in the panko adds savory flavor and extra browning, while paprika and garlic powder give it color and depth.
How it is sized for two
Most chicken finger recipes use a pound and a half or more of chicken and serve four or more. This one starts with 12 ounces of chicken breast, cut into 8 strips, which gives each person about six ounces, or four strips. The coating is scaled to match, with a quarter cup of flour, one egg and three-quarters of a cup of panko, so you are not left with a bowl of leftover crumbs.
A single rimmed baking sheet with a wire rack holds all 8 strips in one layer with space between them, which is the key to crisp results. The sauce is just three ingredients and takes a minute, so dinner comes together quickly.
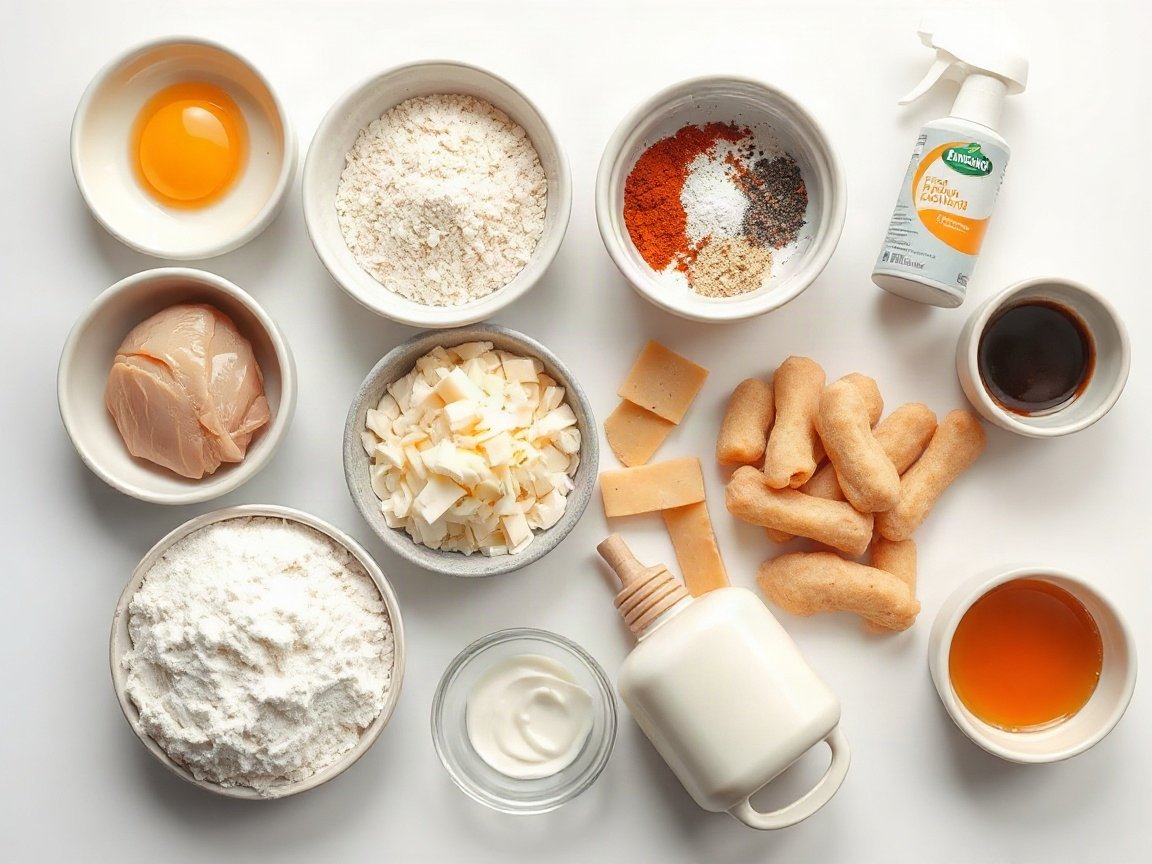
Ingredients for chicken fingers
Exact amounts are in the recipe card below. Here is how to choose each one.
- Chicken breast: boneless and skinless, cut lengthwise into strips of an even thickness so they cook at the same pace.
- Flour, egg and panko: the dredge that builds the crust. Panko is lighter and crunchier than regular breadcrumbs.
- Parmesan: grated fine, for flavor and extra browning.
- Paprika, garlic powder, salt and pepper: the seasoning for the crumbs.
- Olive oil cooking spray: helps the crumbs brown without frying.
- Dijon mustard, honey and mayonnaise: the honey mustard dipping sauce.
How to make chicken fingers
- Heat the oven and set a sprayed wire rack on a baking sheet.
- Stir together the honey mustard sauce.
- Set up the flour, egg and seasoned panko in three dishes.
- Coat each strip in flour, then egg, then panko.
- Arrange the strips on the rack and spray the tops.
- Bake, flip and bake again until golden and cooked through, then serve with the sauce.
Step-by-step notes
Cutting the chicken. Lay each breast flat and slice it lengthwise into strips. If a breast is very thick, cut it in half horizontally first, so the strips are similar in thickness. Pat them dry with paper towels so the coating sticks.
Setting up the dishes. Put the flour in the first dish, the beaten egg in the second and the panko, Parmesan and spices in the third. Work with one hand for the dry mixtures and the other for the egg, so your fingers do not turn into a clump of breading.
Coating. Dredge each strip in flour and shake off the extra, dip it in the egg and let the excess drip off, then press it into the panko until it is coated on all sides. Pressing is what makes the crumbs stay on.
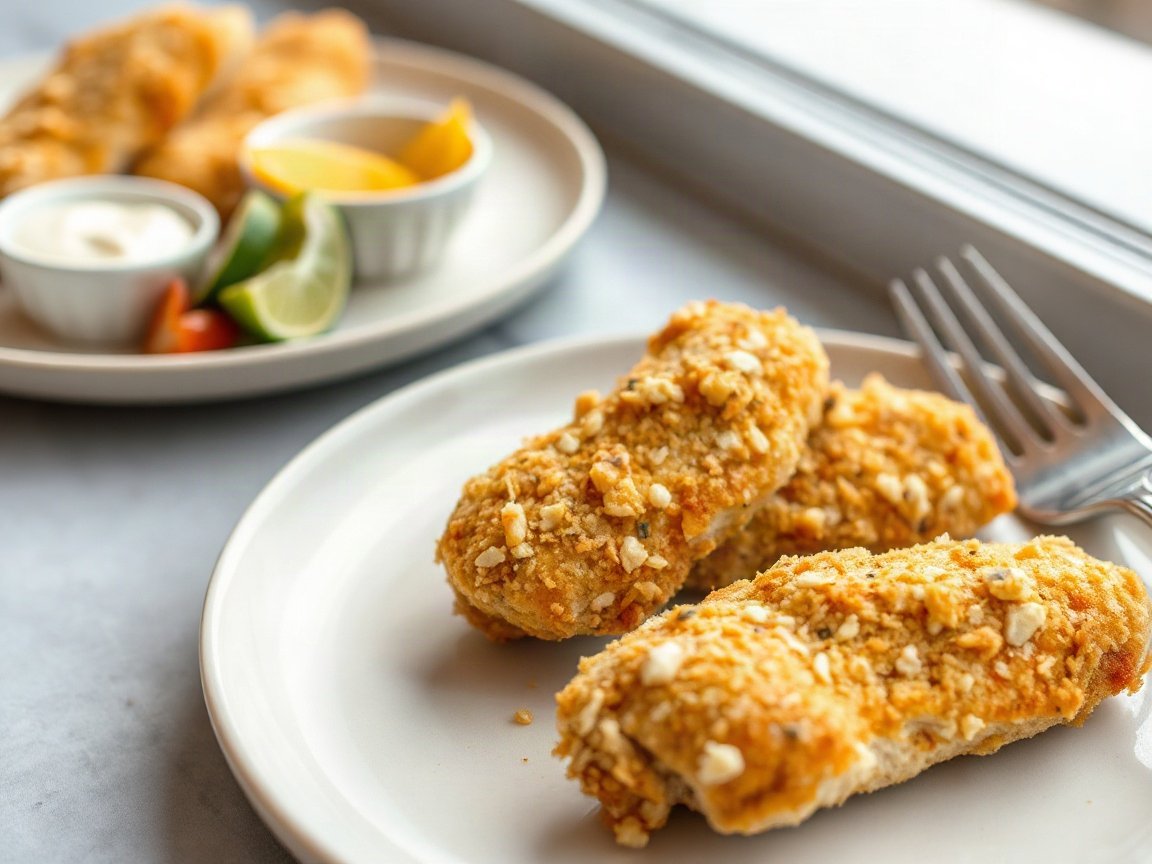
Baking. Lay the strips on the rack with space between them and spray the tops generously. Bake for 10 minutes, then flip the strips, spray the tops again and bake for 5 to 8 minutes more. They are done when the crust is golden and crisp and a thermometer in the thickest strip reads 165°F.
Serving. Serve right away while the crust is at its crispiest, with the honey mustard sauce for dipping.
Tips and variations
- Cut evenly. Strips of the same thickness finish at the same time.
- Use the rack. It is the simplest way to a crisp underside.
- Press the crumbs on. Firm pressure helps the coating stay put.
- Spray generously. The oil is what browns the panko, so cover the tops evenly.
- Check the thickest strip. A thermometer takes the guesswork out and prevents overbaking.
- Change the flavor. Add a pinch of cayenne for heat, swap in Italian seasoning or add lemon zest to the panko.
Substitutions
- Chicken tenderloins: use them as they are, with no cutting needed.
- Boneless thighs: they stay juicier and are more forgiving, though they take a little longer than breast strips.
- Regular breadcrumbs: work in place of panko, though the crust will be denser.
- Air fryer: spray the coated strips, cook them in a single layer, flip halfway and cook until they reach 165°F.
What to serve with it
Chicken fingers pair with simple, familiar sides.
- Oven fries or roasted potatoes make it a classic plate.
- Coleslaw or a crisp green salad adds freshness.
- Steamed broccoli or green beans balance the crunch.
- More dipping sauces like barbecue sauce, ranch or ketchup suit everyone’s taste.
Storage and reheating
Refrigerate leftovers in an airtight container within 2 hours and eat them within 3 to 4 days. Reheat in an air fryer or oven until steaming hot, to 165°F, which brings the crust back to crisp. The microwave works, but it softens the coating.
Golden strips, a little sauce for dipping and dinner for two in no time: simple food, done right.
Frequently asked questions
What is the difference between chicken fingers and chicken tenders?
Tenders traditionally come from the tenderloin, while chicken fingers are usually cut from the breast. In most recipes they are interchangeable.
Can I make chicken fingers in an air fryer?
Yes. Coat and spray the strips, cook them in a single layer, flip halfway and take them out when a thermometer reads 165°F.
Can I make them ahead of time?
You can coat the strips and refrigerate them on the rack, uncovered, for a few hours before baking. Spray them just before they go in the oven.
What sauce goes with chicken fingers?
Honey mustard is the classic choice, and this recipe includes a quick one. Barbecue sauce, ranch and ketchup are also popular.
Print
Baked Chicken Fingers for Two
- Total Time: 33 minutes
- Yield: 2 servings
Description
Baked chicken fingers for two: crisp, golden panko-coated chicken strips baked on a rack, with a quick honey mustard dipping sauce.
Ingredients
- 12 ounces boneless, skinless chicken breast, cut lengthwise into 8 strips
- 1/4 cup all-purpose flour
- 1 large egg, beaten
- 3/4 cup panko breadcrumbs
- 2 tablespoons grated Parmesan cheese
- 1/2 teaspoon paprika
- 1/2 teaspoon garlic powder
- 1/4 teaspoon salt
- 1/4 teaspoon ground black pepper
- olive oil cooking spray
- 2 tablespoons Dijon mustard, for the sauce
- 1 tablespoon honey, for the sauce
- 1 tablespoon mayonnaise, for the sauce
Instructions
- Heat the oven to 425°F. Set a wire rack on a rimmed baking sheet and coat the rack with cooking spray.
- In a small bowl, stir together the Dijon mustard, honey and mayonnaise for the sauce. Set aside.
- Pat the chicken strips dry. Put the flour in one shallow dish and the beaten egg in another. In a third, stir together the panko, Parmesan, paprika, garlic powder, salt and pepper.
- Coat each strip in the flour and shake off the excess, dip it in the egg and let the extra drip off, then press it firmly into the panko mixture on all sides.
- Arrange the strips on the rack with space between them and spray the tops generously with cooking spray.
- Bake for 10 minutes. Flip the strips, spray the tops again and bake for 5 to 8 minutes more, until golden and a thermometer in the thickest strip reads 165°F. Serve hot with the honey mustard sauce.
Notes
Equipment: rimmed baking sheet, wire rack, three shallow dishes, small bowl
- Cut the strips to a similar thickness so they finish together.
- Bake on a rack so hot air reaches the underside and keeps the crust crisp.
- Press the panko on firmly so the coating stays put.
- Spray the tops generously, since the oil is what browns the crumbs.
- Use a thermometer in the thickest strip to avoid overbaking.
- Doneness: The chicken is done when the crust is golden brown and crisp and a thermometer in the thickest strip reads 165°F, with no pink inside.
- Refrigerate leftovers in an airtight container within 2 hours and eat within 3 to 4 days. Reheat in an air fryer or oven until steaming hot, to 165°F, so the crust re-crisps.
- Cook chicken to an internal temperature of 165°F, refrigerate leftovers within 2 hours and reheat leftovers to 165°F (USDA FSIS).
- Prep Time: 15 minutes
- Cook Time: 18 minutes
- Category: Dinner
- Method: Oven
- Cuisine: American