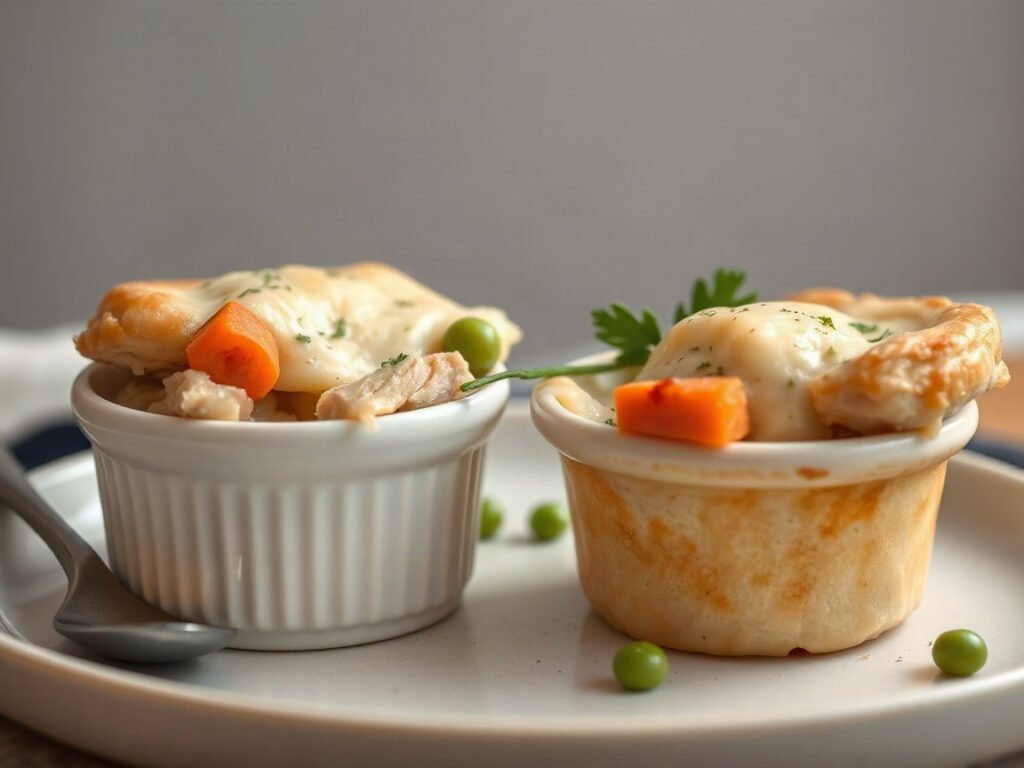
These mini chicken pot pies are everything you love about the classic: a creamy filling of chicken, carrot, celery and peas under a puffed, golden pastry lid, baked in two individual ramekins so each of you gets your own. They are made for two with about a cup and a third of cooked chicken, which makes them a perfect use for leftover roast or rotisserie chicken. The key is letting the filling cool before the pastry goes on, so the lid bakes up crisp and flaky instead of soggy. I kept the filling from scratch but simple, so it tastes homemade without taking all evening.
Why you’ll like it
- Two individual pot pies, one for each of you, with no big casserole to finish.
- A creamy, from-scratch filling with no canned soup.
- Store-bought puff pastry makes a flaky lid with almost no effort.
- A great way to use leftover roast or rotisserie chicken.
- Cozy comfort food that feels special for a quiet night in.
What makes it work
A simple roux. Cooking the flour in butter with the vegetables for a minute or two, then adding the stock gradually, makes a smooth, thick sauce. Adding the stock slowly while stirring is what keeps it free of lumps.
A cooled filling. Hot filling melts the butter in puff pastry before it reaches the oven, and the lid sinks and turns soggy. Letting the filling cool until it is no longer warm keeps the pastry cold, so it puffs into crisp, flaky layers.
A sealed, vented lid. Brushing the rims with egg and pressing the pastry on seals it in place, and a few small slits let steam escape so the top stays crisp while the filling bubbles underneath.
Peas at the end. Stirring the frozen peas in after the heat is off keeps them bright green and sweet. They finish cooking in the oven instead of turning dull and soft on the stove.
Why individual pies work so well for two
Most chicken pot pie recipes make a full pie or a big batch of minis for a family. For two people, that often means days of leftovers. Two individual ramekins solve that neatly: each person gets their own pie with its own crisp, golden lid, and there is nothing to cut or divide at the table.
They are also a smart way to use a small amount of cooked chicken. A little leftover roast chicken, or what remains of a rotisserie chicken, becomes a warm, comforting dinner. Breaking through the flaky top into the creamy filling is the kind of small pleasure that makes an ordinary evening at home feel a little special.
Ingredients for mini chicken pot pies
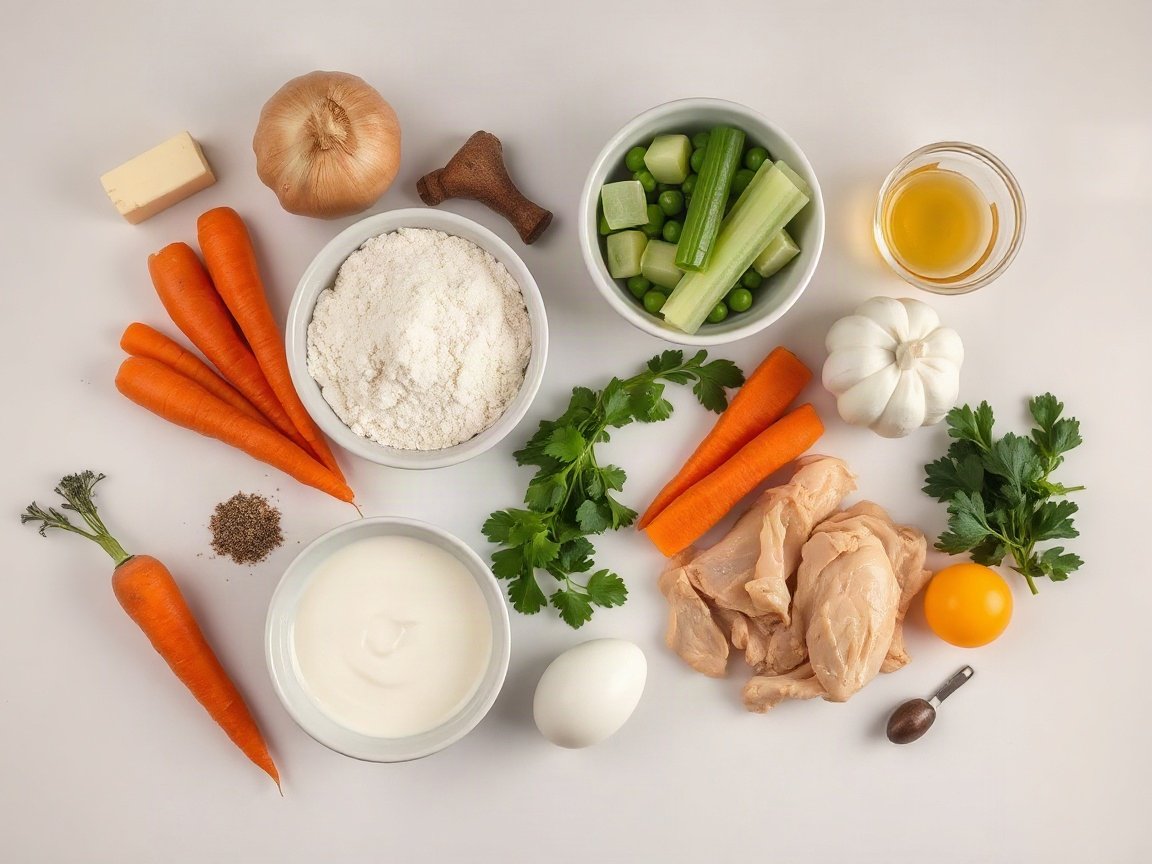
A familiar list, with a few choices that matter. Exact amounts are in the recipe card below.
- Cooked chicken: shredded roast, rotisserie or poached chicken all work. Remove any skin and bones.
- Onion, carrot, celery and garlic: the classic vegetables. Dice the carrot and celery small so they soften in the pan.
- Poultry seasoning and fresh thyme: give the filling that warm, traditional pot pie flavor.
- Butter and flour: make the roux that thickens the sauce.
- Low-sodium chicken stock: the base of the sauce; low-sodium lets you control the salt.
- Heavy cream: just a little makes the filling rich and silky.
- Frozen peas and parsley: add sweetness, color and freshness.
- Puff pastry and an egg: one thawed sheet tops both pies, and the beaten egg gives the lids a glossy, golden finish.
How to make mini chicken pot pies
- Soften the onion with the seasonings, then cook the carrot, celery and garlic.
- Stir in the flour, then gradually add the stock.
- Add the chicken, cream and parsley, then the peas; cool the filling.
- Fill the ramekins and top with puff pastry.
- Brush with egg, vent and bake at 360°F until golden and bubbling.
Step-by-step notes
Soften the vegetables. After the onion softens with the seasonings, give the carrot, celery and garlic 8 to 10 minutes. The carrot should be tender when pierced with a fork.
Add the stock slowly. Stir the flour into the vegetables for 1 to 2 minutes, then pour in the stock a little at a time, stirring constantly. The sauce will thicken and turn smooth and glossy.
Cool it down. Spread the finished filling out in the pan and let it cool for about 20 minutes, until it no longer feels warm. This protects the pastry.
Cut the lids. Cut two pastry rounds about an inch wider than the tops of the ramekins. Brush the rims with egg, lay the pastry over and press the overhang against the sides to seal.
Bake until deep golden. Brush the tops with egg, cut three small slits in each, and bake on a baking sheet for 30 to 40 minutes. The pastry should be puffed and deep golden, and the filling should bubble at the edges and reach 165°F in the center. Rest for 5 minutes before serving; the filling is very hot.
Tips for the best results
- Thaw the puff pastry in the fridge so it stays cold and easy to handle.
- Keep the pastry chilled until the moment you top the pies.
- Set the ramekins on a baking sheet to catch any drips.
- Press the pastry firmly to the rims so it does not shrink away.
- Use the leftover pastry and egg for a few pastry twists to bake alongside.
Common mistakes to avoid
- Topping hot filling. The pastry melts and sinks. Let the filling cool first.
- Adding the stock all at once. The sauce can turn lumpy. Pour it in gradually while stirring.
- Skipping the vents. Steam softens the lid. Cut a few small slits in each top.
- Pulling them too early. Pale pastry is still doughy inside. Bake until deep golden and the center reaches 165°F.
Easy swaps
- Pie crust instead of puff pastry: refrigerated pie crust works as a lid; cut, seal and vent it the same way.
- Any cooked chicken: roast, rotisserie or poached chicken all work.
- Dried thyme instead of fresh: use a smaller pinch, since dried herbs are stronger.
What to serve with them
Mini pot pies are a complete meal on their own, with protein, vegetables and a flaky crust. A crisp green salad with a simple vinaigrette is a fresh contrast to the creamy filling, and steamed green beans also work well. For another cozy chicken dinner for two, try our one pot chicken and rice for two.
Storing and reheating
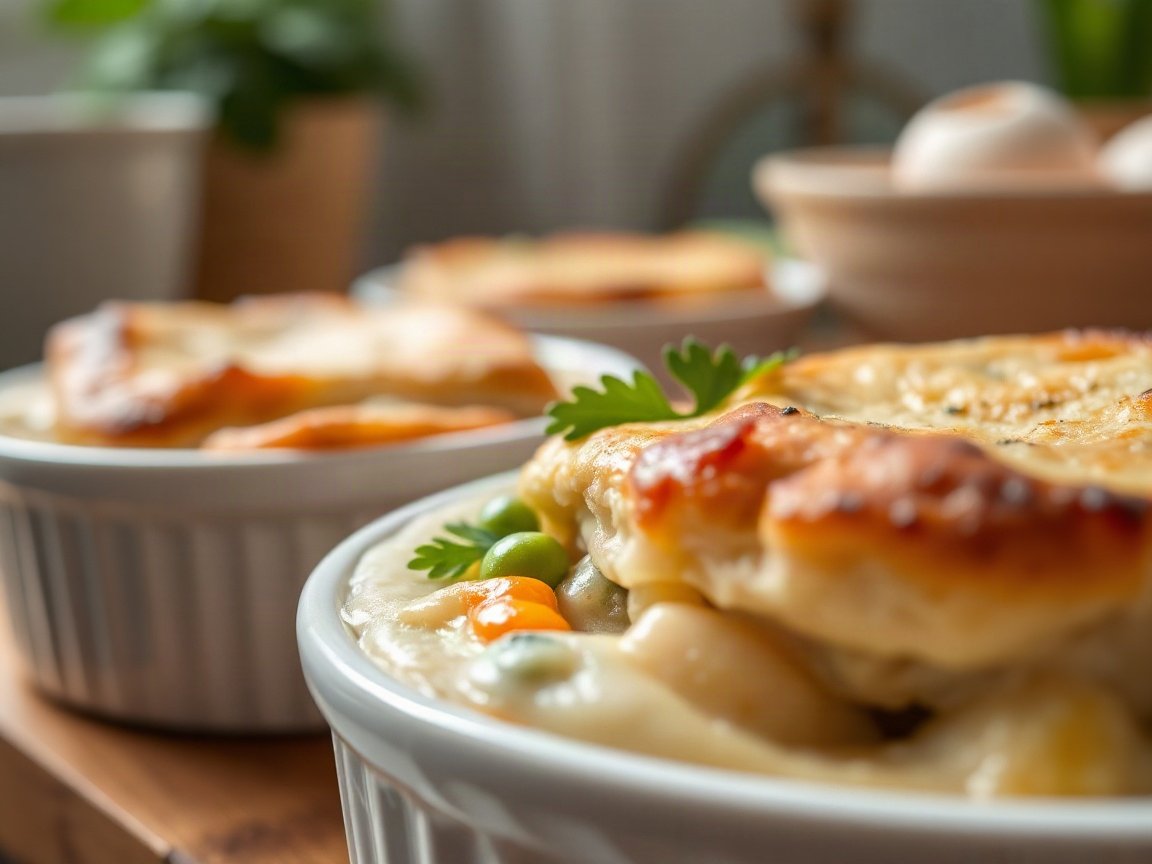
Refrigerate any leftovers within 2 hours and eat them within 1 to 2 days, since the chicken was already cooked before it went into the pies. Reheat in the oven rather than the microwave to keep the pastry crisp, until the filling reaches 165°F in the center. Start with cooked chicken that has been refrigerated no more than 3 to 4 days.
Two ramekins, one sheet of pastry and a little leftover chicken: that is all it takes for a cozy pot pie dinner for two.
Frequently asked questions
Can I use pie crust instead of puff pastry for mini chicken pot pies?
Yes. Refrigerated pie crust makes a sturdier, flaky lid. Cut it a little wider than the ramekins, seal it to the egg-brushed rims and vent it the same way.
Can I make the filling ahead?
Yes. Cool the filling, refrigerate it within 2 hours and assemble the pies the next day. A cold filling also helps the pastry stay crisp.
Can I use fresh chicken instead of cooked chicken?
This recipe is built for cooked chicken, which only needs to heat through. Cook fresh chicken to 165°F first, then shred it and use it the same way.
Print
Mini Chicken Pot Pies for Two
- Total Time: 1 hour 35 minutes
- Yield: 2 individual pot pies
Description
Two mini chicken pot pies with a creamy chicken, carrot, celery and pea filling, baked in ramekins under golden puff pastry lids.
Ingredients
- 1 1/2 tablespoons butter
- 1/3 cup chopped onion
- 1 teaspoon poultry seasoning
- 1 teaspoon fresh thyme leaves
- 1 small carrot, diced
- 1 small rib celery, diced
- 1 clove garlic, minced
- 3 tablespoons all-purpose flour
- 1 cup low-sodium chicken stock
- 1 1/3 cups shredded cooked chicken
- 3 tablespoons heavy cream
- 1/3 cup frozen peas
- 1 teaspoon chopped fresh parsley
- Salt and black pepper, to taste
- 1 sheet frozen puff pastry, thawed
- 1 egg, beaten, for brushing
Instructions
- Melt the butter in a medium saucepan over medium heat. Add the onion, poultry seasoning and thyme with a pinch of salt and pepper, and cook until the onion softens.
- Add the carrot, celery and garlic and cook 8 to 10 minutes, until the carrot is tender.
- Sprinkle in the flour and stir for 1 to 2 minutes. Gradually pour in the stock, stirring constantly, until the sauce is smooth and thickened.
- Stir in the chicken, cream and parsley and cook 1 to 2 minutes. Taste for salt and pepper, turn off the heat and stir in the frozen peas. Let the filling cool for about 20 minutes, until no longer warm.
- Heat the oven to 360°F. Divide the filling between two 12-ounce ramekins set on a baking sheet. Cut 2 rounds of puff pastry about 1 inch wider than the ramekins. Brush the rims with egg, lay the pastry on top and press the edges to seal.
- Brush the pastry with egg, cut 3 small slits in each top and bake 30 to 40 minutes, until the pastry is deep golden and the filling bubbles and reaches 165°F in the center. Rest 5 minutes before serving.
Notes
Equipment: medium saucepan or skillet, two 12-ounce ramekins or oven-safe bowls, baking sheet, instant-read thermometer
- Cooling the filling first keeps the puff pastry from turning soggy and sliding.
- Bake the ramekins on a baking sheet to catch any filling that bubbles over.
- Refrigerated pie crust can replace the puff pastry; cut and seal it the same way.
- Refrigerate leftovers within 2 hours and eat within 1 to 2 days, because the chicken was already cooked. Reheat in the oven until the filling reaches 165°F.
- Use cooked chicken that has been refrigerated for no more than 3 to 4 days.
- Bake until the filling reaches 165°F in the center.
- Prep Time: 20 minutes
- Cool and Rest Time: 25 minutes
- Cook Time: 50 minutes
- Category: Dinner
- Method: Baked
- Cuisine: American