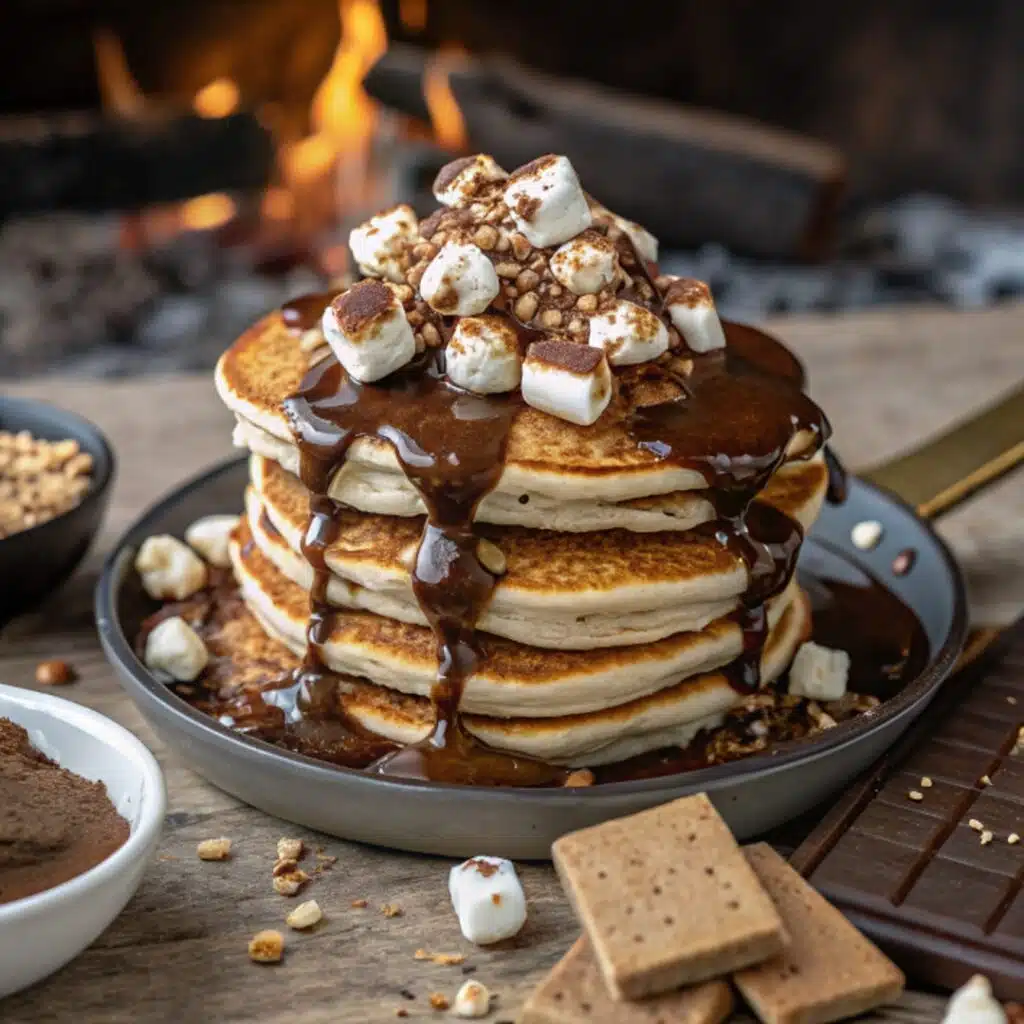
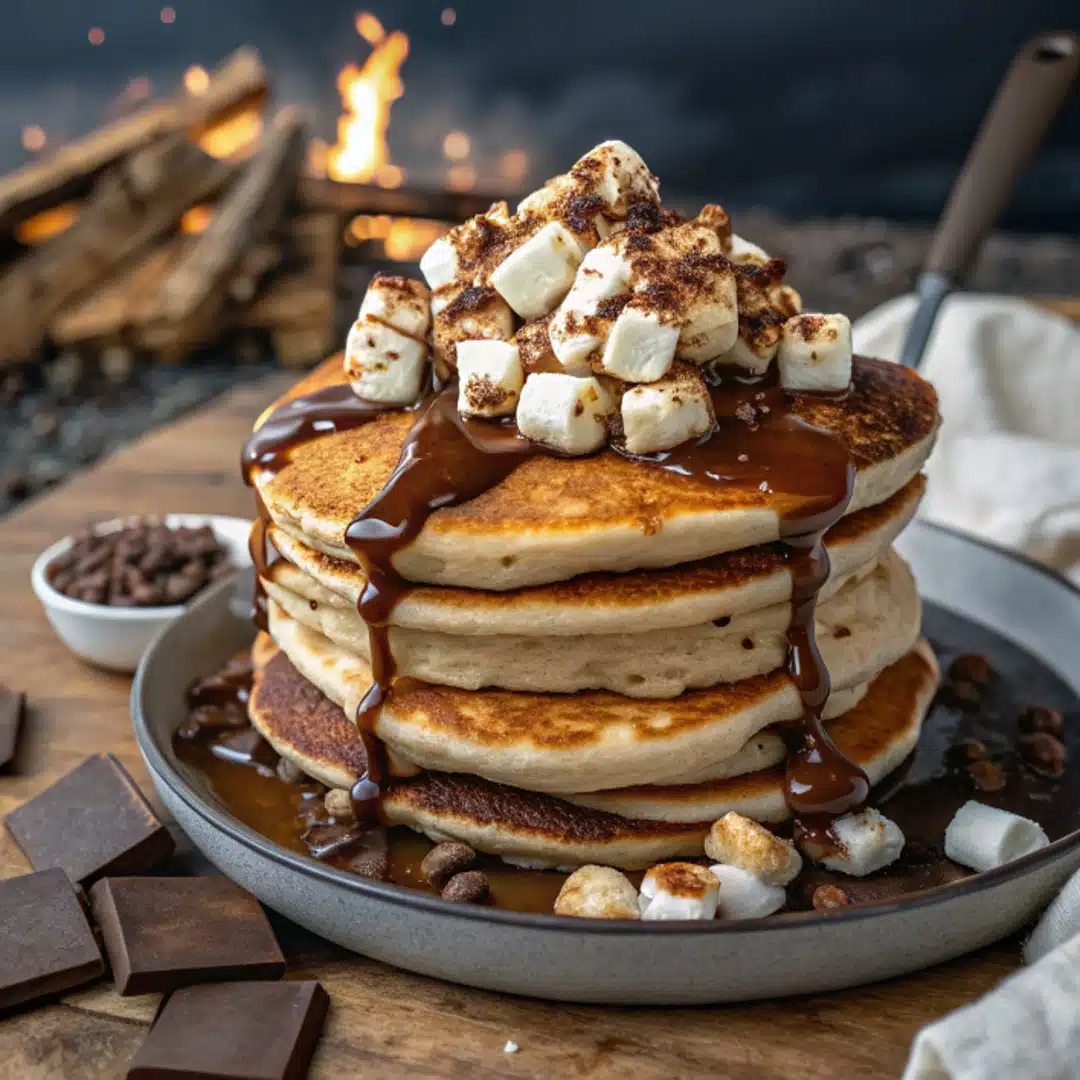
There’s something magical about the nostalgic flavors of a s’more—gooey marshmallows, melted chocolate, and that satisfying crunch of graham crackers. I remember my Nonna never made s’mores in the traditional sense, but she did teach me the power of combining simple, rustic ingredients in ways that bring a smile. So when I first tried a S’mores Pancake at a diner during a road trip through Pennsylvania, I knew I had to recreate it at home—with a twist of love and a hint of heritage.
This S’mores Pancake recipe blends the fun of campfire treats with the coziness of a homemade pancake breakfast. It’s perfect for both summer mornings by the lake and winter brunches by the fire. Whether you’re planning a cozy family breakfast or looking for a new crowd-pleaser for brunch, this recipe is sure to deliver delicious comfort.
Why You’ll Love These S’mores Pancakes
- Versatile for Any Season: The warmth of toasted marshmallow and melted chocolate makes them winter-comfort perfect, while their nostalgic summer-camp flavor keeps them ideal for warm-weather fun.
- Kid-Friendly and Crowd-Pleasing: Great for family breakfasts, birthday mornings, or indulgent weekend treats.
- Easy to Customize: Make it gluten-free, dairy-free, or boost it with protein—options are endless.

Ingredients for S’mores Pancake (7 Servings)
Dry Ingredients
- 1 ½ cups all-purpose flour
- 2 tablespoons granulated sugar
- 2 teaspoons baking powder
- ½ teaspoon baking soda
- ½ teaspoon salt
- ½ cup crushed graham crackers (plus extra for garnish)
Wet Ingredients
- 1 ¼ cups whole milk (or dairy-free alternative)
- 1 large egg
- 2 tablespoons unsalted butter, melted
- 1 teaspoon pure vanilla extract
S’mores Filling & Toppings
- ¾ cup mini marshmallows
- ½ cup semi-sweet chocolate chips or chocolate chunks
- Chocolate syrup (for drizzle)
- Marshmallow fluff or toasted marshmallows (optional)
- Additional crushed graham crackers
Equipment You’ll Need
- Mixing bowls
- Whisk
- Ladle or measuring cup (for scooping batter)
- Non-stick skillet or griddle
- Spatula
- Kitchen torch (optional, for toasting marshmallows)
Prep Time, Cook Time, Total Time
- Prep Time: 10 minutes
- Cook Time: 20 minutes
- Total Time: 30 minutes
Step-by-Step Instructions
Step 1: Prepare the Pancake Batter
- In a large mixing bowl, whisk together the flour, sugar, baking powder, baking soda, salt, and crushed graham crackers.
- In another bowl, combine milk, egg, melted butter, and vanilla extract. Whisk until smooth.
- Pour the wet ingredients into the dry and gently mix just until combined. Do not overmix; the batter should be a bit lumpy for fluffier pancakes.
- Gently fold in the chocolate chips and mini marshmallows.
Step 2: Cook the Pancakes
- Heat a non-stick skillet or griddle over medium heat. Lightly grease with butter or oil.
- Scoop about ¼ cup of batter onto the skillet for each pancake.
- Cook for 2–3 minutes, or until bubbles form on the surface. Flip and cook the other side until golden brown.
- Keep the cooked pancakes warm in a low oven (about 200°F / 90°C) while you finish the rest.
Step 3: Assemble the S’mores Stack
- Stack 2–3 pancakes per serving on each plate.
- Drizzle with chocolate syrup.
- Add dollops of marshmallow fluff or use a kitchen torch to toast a few extra marshmallows and place on top.
- Sprinkle generously with crushed graham crackers.
Optional Garnishes
- A scoop of vanilla ice cream (for dessert-style brunch)
- Candied pecans or almonds
- Fresh strawberries for a fruity twist
Make It Your Own: Substitutions & Variations
Gluten-Free S’mores Pancakes
- Use a gluten-free all-purpose flour blend and gluten-free graham crackers.
Dairy-Free Version
- Swap milk for almond or oat milk and use dairy-free chocolate chips.
Protein Boost
- Add a scoop of vanilla protein powder to the dry mix and increase the milk slightly to maintain consistency.
Campfire Style
- Add smoky flair by lightly torching the pancake edges and topping marshmallows.
Tips for Perfect Pancakes
- Don’t Overmix: Overworking the batter leads to flat, chewy pancakes.
- Use Fresh Baking Powder: This ensures maximum fluffiness.
- Watch the Heat: Medium heat prevents burning while allowing the insides to cook thoroughly.
- Torch Marshmallows Last: If toasting marshmallows, add them just before serving for optimal texture.
When to Serve S’mores Pancakes
These pancakes shine in a variety of settings:
- Holiday Breakfasts – Perfect for Christmas or New Year’s mornings.
- Backyard Brunches – Pair with cold brew or iced tea during summer.
- Birthday Breakfasts in Bed – Add candles for a fun surprise.
- Cozy Snow Days – Serve with hot cocoa and a cozy blanket.
Pairing Suggestions
- Drinks: Hot chocolate, coffee, or a cold glass of milk
- Sides: Crispy bacon, scrambled eggs, or fresh fruit
- Sauces: Homemade caramel drizzle, raspberry coulis, or vanilla bean whipped cream
Storage & Reheating Tips
Storing:
- Store leftover pancakes in an airtight container in the fridge for up to 3 days.
- Freeze between parchment paper layers in a freezer-safe bag for up to 2 months.
Reheating:
- Microwave for 30–45 seconds or reheat in the toaster for crispy edges.
- Avoid topping with marshmallows before freezing—add those fresh when serving.
FAQ: S’mores Pancake Edition
Q: Can I make the batter the night before?
Yes! Prepare the batter and store it covered in the fridge. Stir lightly before using.
Q: Can I make these into mini pancakes?
Absolutely. Use a tablespoon to scoop smaller portions and cook for slightly less time.
Q: What if I don’t have a torch for marshmallows?
Broil marshmallows in the oven for a few seconds or toast them over a gas flame with skewers.
Final Thoughts: A Pancake Worthy of Campfire Dreams
S’mores Pancakes are more than just a treat—they’re a celebration of seasons, of togetherness, and of playfully reimagined traditions. Whether you’re flipping them up on a snow day or stacking them high for a summer brunch, these pancakes bring joy with every bite.
Give them a try, and don’t forget to tag your creations! What toppings did you use? Did you go extra on the marshmallows (we won’t judge)? Let me know how you made this recipe your own!

