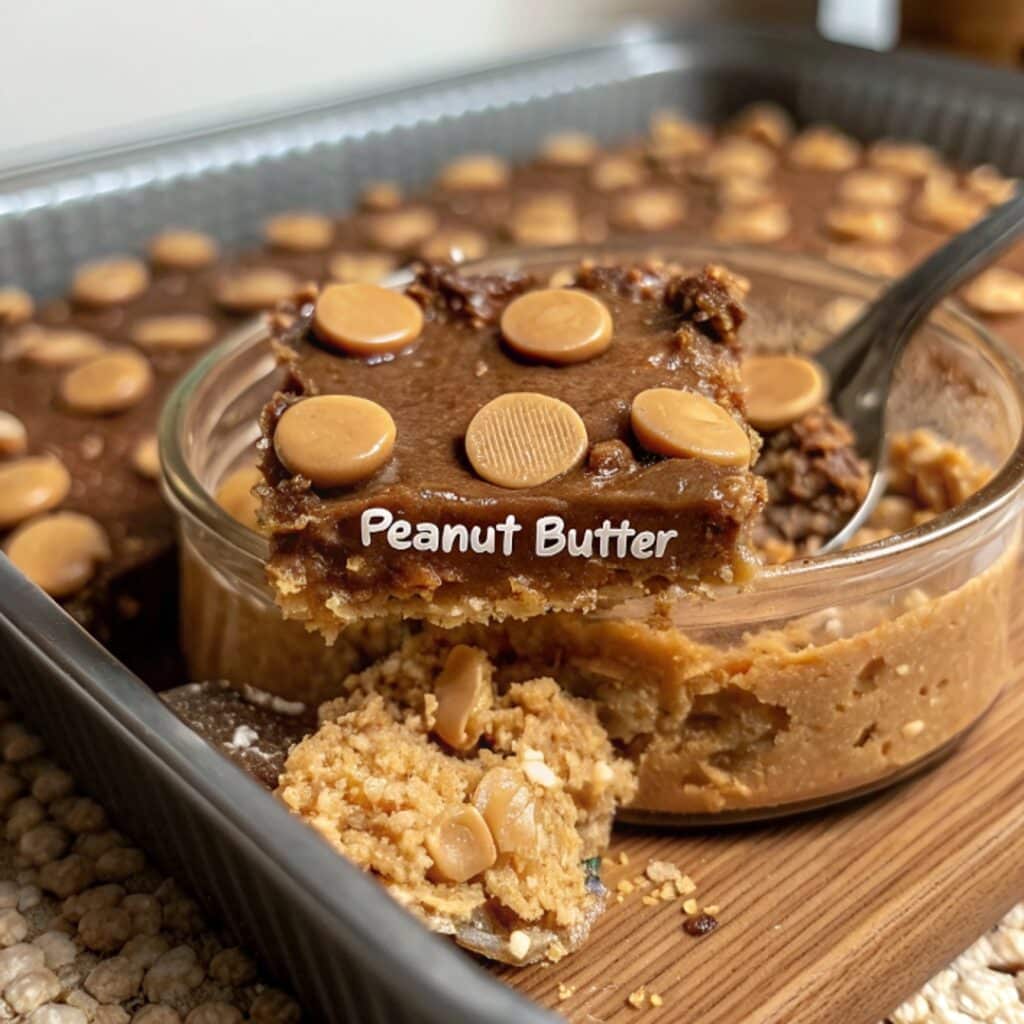
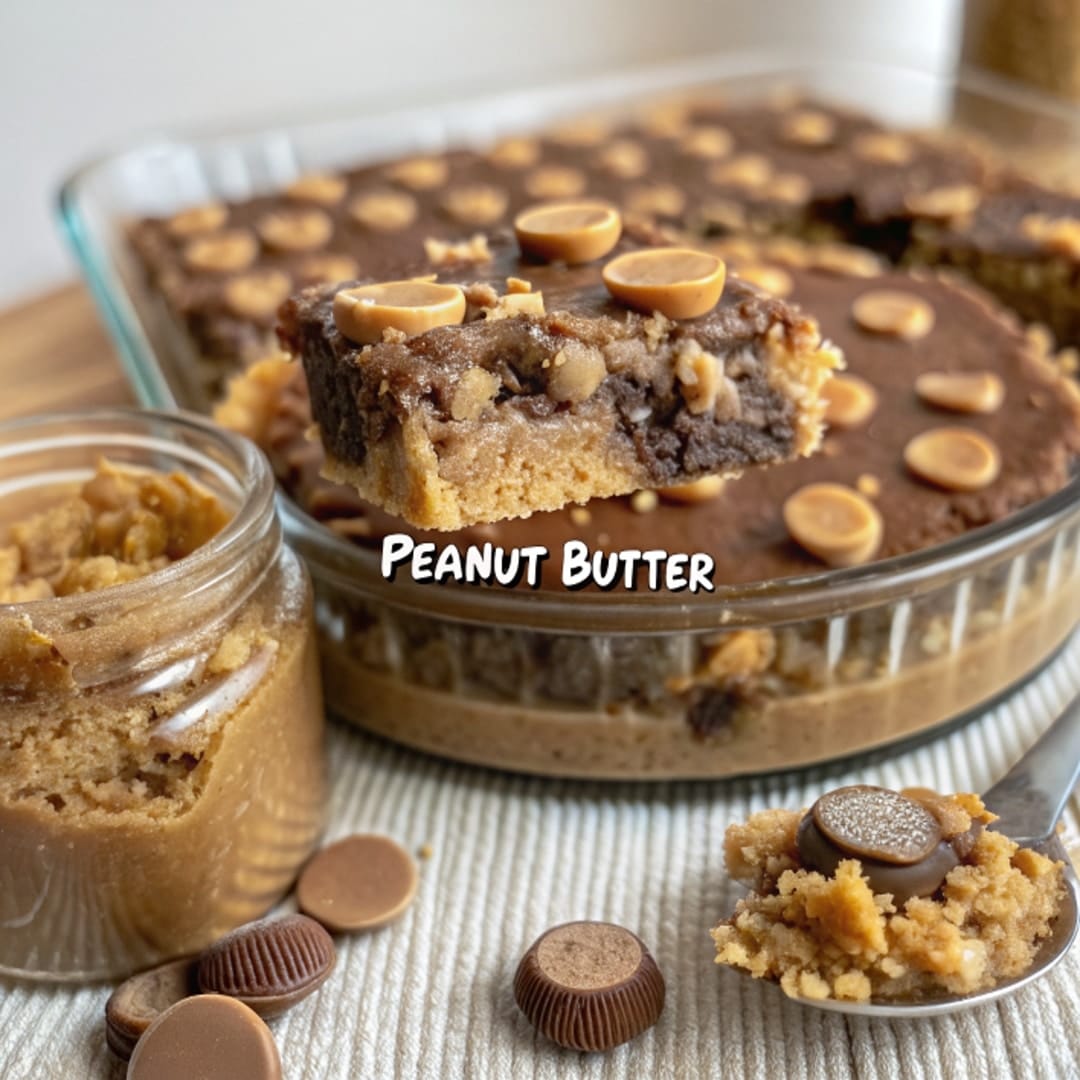
If you’re looking for a dessert that’s ridiculously easy and undeniably indulgent, let me introduce you to one of my go-to sweet fixes: Peanut Butter Cup Dump Cake. Just like my grandma’s old-fashioned dump cakes, this one requires no mixer, minimal prep, and only a handful of ingredients—but it tastes like something you’d get from a gourmet bakery.
Perfect for both summer and winter, this cake hits the spot after a backyard BBQ or when curled up by the fireplace. With layers of chocolate, creamy pudding, and the unmistakable richness of peanut butter cups, this American classic is comfort food at its best.
Why You’ll Love This Peanut Butter Cup Dump Cake
- Minimal Effort, Maximum Flavor: True to its name, just dump the ingredients in and bake!
- All-Season Favorite: Great warm in winter, or chilled in summer.
- Kid-Friendly: A surefire hit with kids and adults alike.
- Peanut Butter + Chocolate Combo: A timeless flavor pairing that’s rich and satisfying.

Ingredients
This recipe makes 7 generous servings of gooey, peanut-buttery delight.
- 1 box chocolate cake mix (15.25 oz)
- 1 (3.9 oz) box instant chocolate pudding mix
- 2 cups cold milk
- 1 cup mini peanut butter cups, halved
- ½ cup creamy peanut butter
- ½ cup melted butter
- Optional: ½ cup chocolate chips or chopped peanuts for extra texture
Instructions
Prep Time: 10 minutes
Bake Time: 45 minutes
Total Time: ~55 minutes
Step 1: Preheat the Oven
Start by preheating your oven to 350°F (175°C). Grease a 9×13-inch baking dish or line it with parchment paper for easier cleanup.
Step 2: Mix the Pudding Layer
In a medium mixing bowl, whisk together the pudding mix and cold milk until smooth and slightly thickened. Pour it evenly into the baking dish as the first layer.
Step 3: Layer the Cake Mix
Sprinkle the dry chocolate cake mix evenly over the pudding. Do not stir—this is what gives the cake its distinct layers and “lava” texture.
Step 4: Add the Peanut Butter and Candy
Drop spoonfuls of creamy peanut butter across the top. Scatter the halved mini peanut butter cups over the cake mix, pressing them in slightly. Add chocolate chips if using.
Step 5: Drizzle with Butter
Pour the melted butter evenly over the top. Again, do not stir. This creates a molten texture as it bakes.
Step 6: Bake and Cool
Bake for 45 minutes, or until the top is bubbly and set. Let cool for at least 15 minutes before serving for the best gooey consistency.
Tips for the Best Dump Cake
- Don’t stir the layers. This is key to that delicious molten texture.
- Use high-quality peanut butter cups. They’ll melt better and taste richer.
- Add texture. Sprinkle crushed pretzels or peanuts for a salty crunch.
How to Serve It
- Summer Style: Serve slightly chilled with a scoop of vanilla ice cream.
- Winter Warmth: Enjoy warm with hot fudge drizzle or warm milk.
- Party Tip: Serve in small cups with a peanut butter cup on top for a handheld treat.
Storage & Freezing
- Store: Keep in an airtight container in the fridge for up to 5 days.
- Freeze: Wrap tightly in plastic and foil. Freeze for up to 3 months. Reheat in the microwave or oven.
Reader Questions & Answers
Can I use a different cake mix flavor?
Yes! Devil’s food cake or peanut butter cake mix works beautifully.
Can I use almond milk or non-dairy milk?
Absolutely, as long as it’s cold and unsweetened for best pudding consistency.
What if I only have full-size peanut butter cups?
Just chop them into quarters and use the same amount.
Customize Your Dump Cake
- Add Bananas: Layer thin slices before the pudding for a banana-choco-peanut combo.
- Marshmallow Fluff Swirls: Drop small spoonfuls on top before baking.
- Oreo Crunch: Sprinkle crushed Oreos over the cake mix for added fun.
Related Dessert Recipes to Try
- Reese’s Brownie Trifle
- Chocolate Peanut Butter Poke Cake
- Peanut Butter Cup Cheesecake Bars
- Easy S’mores Dump Cake
Final Thoughts
Whether you’re looking to wow a crowd or just treat yourself to a decadent dessert, this Peanut Butter Cup Dump Cake is guaranteed to satisfy. It’s rich, gooey, layered with flavor, and best of all—effortless. This is one of those recipes that brings smiles to every table, from backyard barbecues to snowy-night gatherings.

