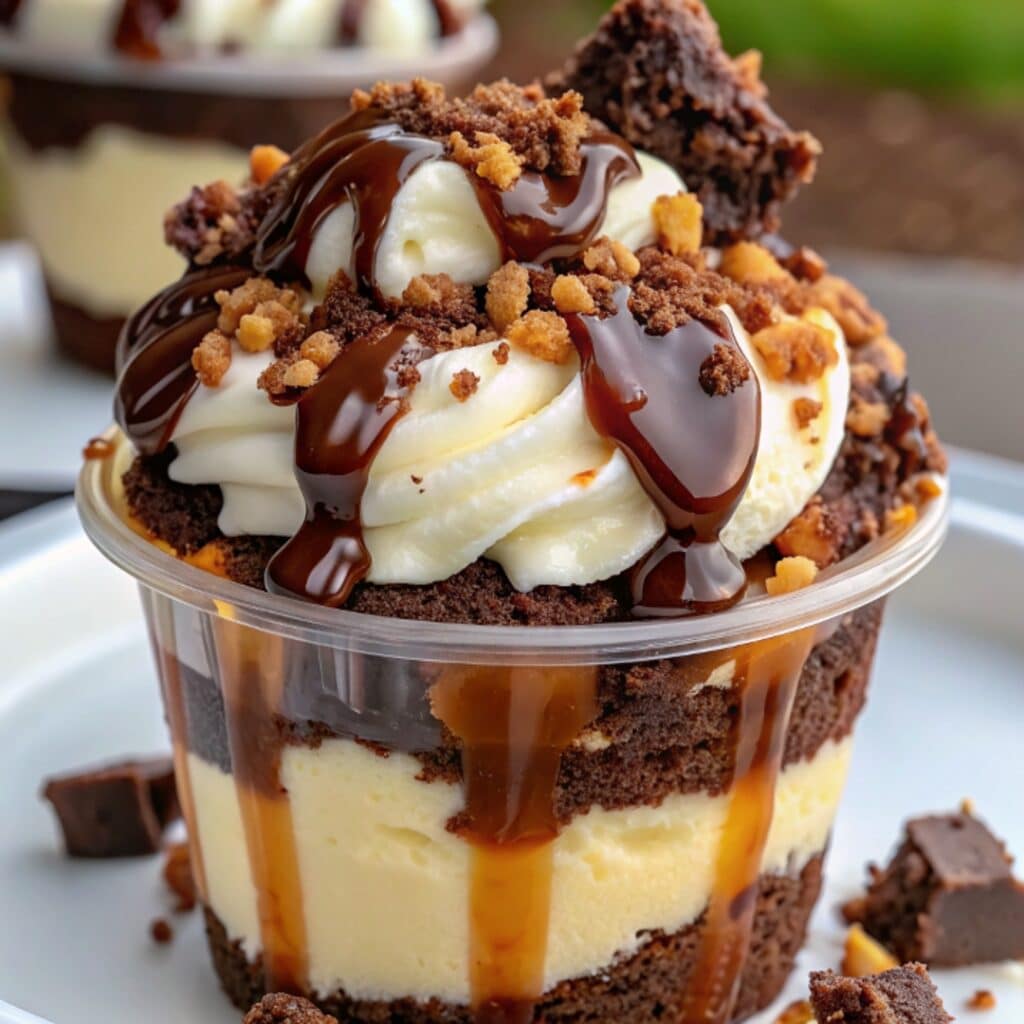
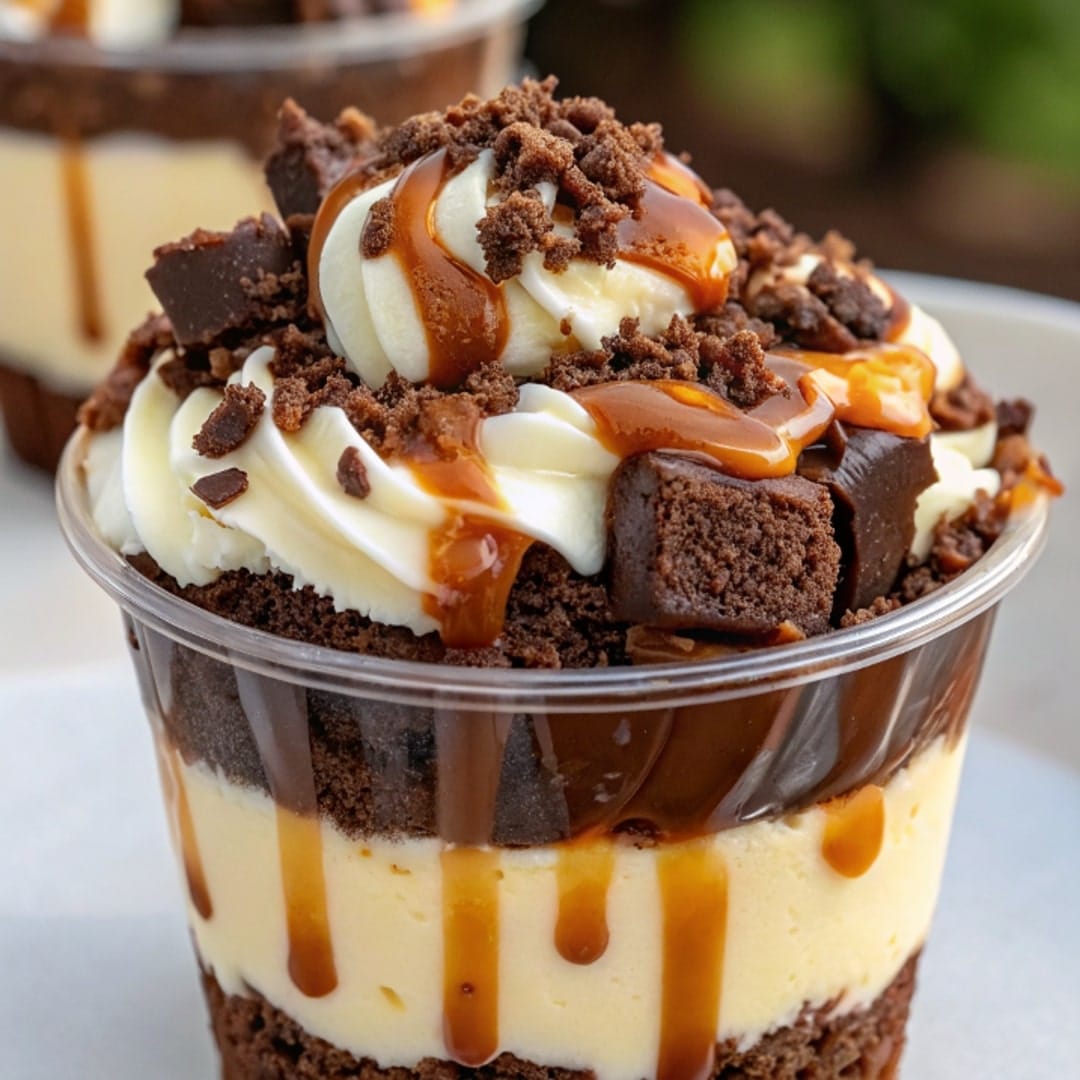
A Decadent Fusion of Fudgy Brownies and Creamy Cheesecake – Perfect for Every Season
Growing up, my grandmother had a knack for combining the bold flavors of American classics with her signature elegance. One of her most cherished creations was a layered dessert that started with rich brownie batter and ended with a silky cream cheese topping. Over the years, I adapted her masterpiece into what I now call Loaded Brownie Cheesecake Cups—portable, portion-controlled delights that pack a punch of indulgence in every bite.
Whether it’s a sunny backyard barbecue in July or a cozy winter evening by the fireplace, these brownie cheesecake cups hit the sweet spot every time.
Why You’ll Love These Loaded Brownie Cheesecake Cups
- Easy to Make: No complicated steps or fancy tools required.
- Customizable: Add toppings like crushed Oreos, fresh berries, or caramel drizzle.
- All-Season Favorite: Perfectly comforting in winter and deliciously refreshing in summer.

Ingredients
For the Brownie Base:
- 1 box brownie mix (or your favorite homemade brownie recipe)
- Ingredients listed on the brownie mix box (typically eggs, oil, and water)
For the Cheesecake Layer:
- 1½ cups cream cheese, softened
- ½ cup powdered sugar
- 1 teaspoon vanilla extract
Toppings (optional but encouraged):
- Mini chocolate chips
- Crushed nuts (walnuts or pecans work well)
- Whipped cream
- Fresh berries or fruit compote
- Caramel or chocolate drizzle
Instructions
Step 1: Prepare the Brownie Layer
- Preheat your oven to 350°F (175°C).
- Line a 12-cup muffin tin with paper cupcake liners.
- Prepare brownie batter according to the box instructions or your homemade recipe.
- Spoon about 2 tablespoons of brownie batter into each cupcake liner, filling each about halfway.
- Bake for 12–15 minutes, or until a toothpick inserted in the center comes out with a few moist crumbs.
- Let cool completely before adding the cheesecake layer.
Step 2: Make the Cheesecake Filling
- In a large mixing bowl, beat the softened cream cheese with an electric mixer until smooth and fluffy.
- Add powdered sugar and vanilla extract. Continue mixing until fully combined and creamy.
- Scoop the cheesecake mixture over the cooled brownie bases, smoothing the tops with a spoon or spatula.
Step 3: Chill and Decorate
- Refrigerate the cups for at least 2 hours or until the cheesecake layer is firm.
- Before serving, top with your favorite garnishes—mini chocolate chips, nuts, berries, or a drizzle of caramel.
Tips for Success
- Softening Cream Cheese: Ensure your cream cheese is at room temperature to prevent lumps.
- Layer Neatly: Let the brownie base cool entirely before adding the cheesecake layer to avoid melting.
- Mini Muffin Version: For bite-sized treats, use a mini muffin pan and adjust baking time accordingly.
Seasonal Serving Ideas
Summer Vibes:
- Serve chilled with fresh strawberries or blueberries.
- Add a scoop of vanilla ice cream for a brownie sundae effect.
Winter Comfort:
- Drizzle with warm chocolate ganache.
- Serve with hot cocoa for a cozy pairing.
Variations to Try
- Peanut Butter Swirl: Add a spoonful of peanut butter to the cheesecake batter for a nutty twist.
- Mint Chocolate: Mix in a drop of peppermint extract and sprinkle with crushed candy canes.
- Mocha Infusion: Add instant coffee to the brownie batter for a mocha flavor.
Make-Ahead & Storage
- Make Ahead: These cups can be prepared a day in advance. Store covered in the refrigerator.
- Storage: Keep refrigerated in an airtight container for up to 5 days.
- Freezing: Wrap each cup individually and freeze for up to 1 month. Thaw overnight in the fridge before serving.
Pairing Suggestions
- Drink Pairings: Try with a vanilla latte, black coffee, or even a chilled glass of milk.
- Other Desserts: Serve alongside mini fruit tarts or lemon bars for a dessert platter.
FAQs
Can I use a no-bake brownie base?
Yes, if you prefer a raw dessert version, use a no-bake brownie recipe with dates and nuts. Just ensure it’s firm enough to hold the cheesecake layer.
Can I make this gluten-free?
Absolutely! Use a gluten-free brownie mix and ensure all toppings are certified gluten-free.
Is there a vegan option?
You can substitute the cream cheese with vegan cream cheese and use a plant-based brownie mix.

