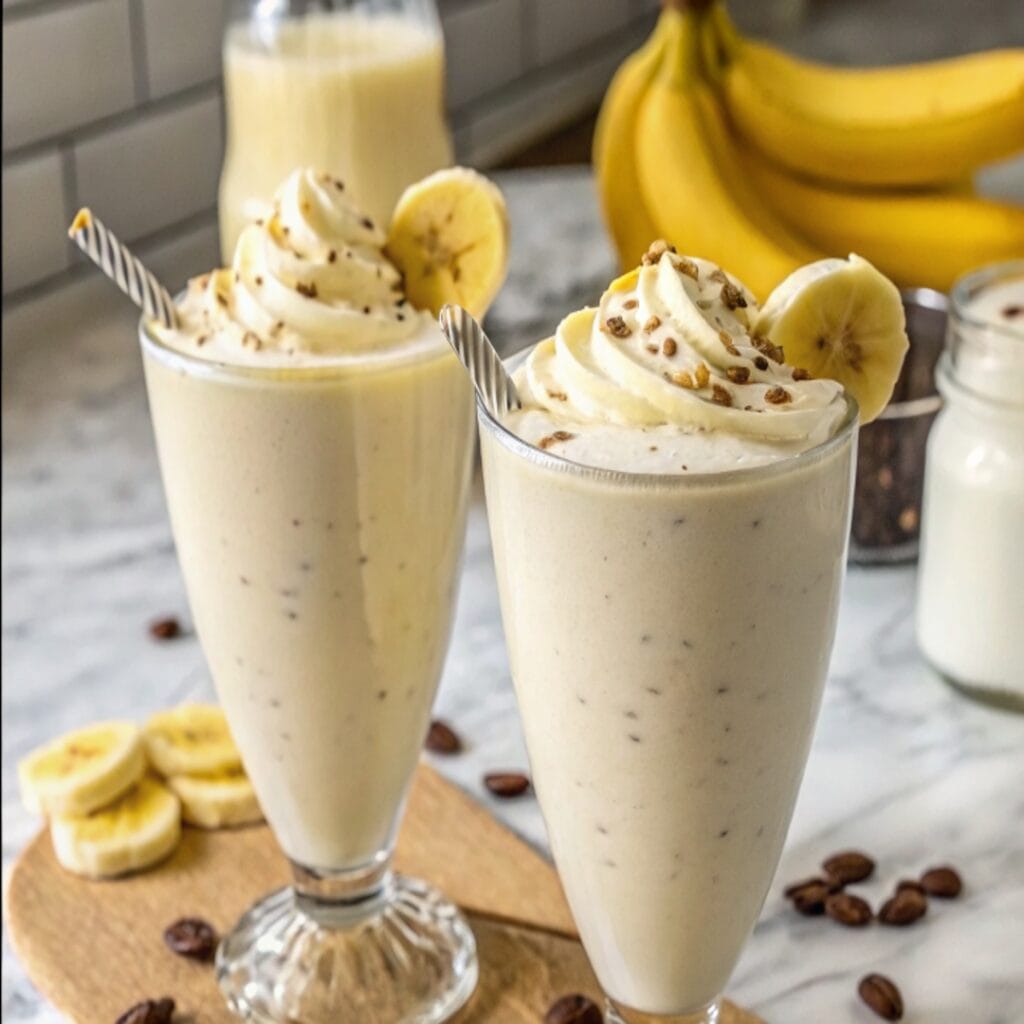
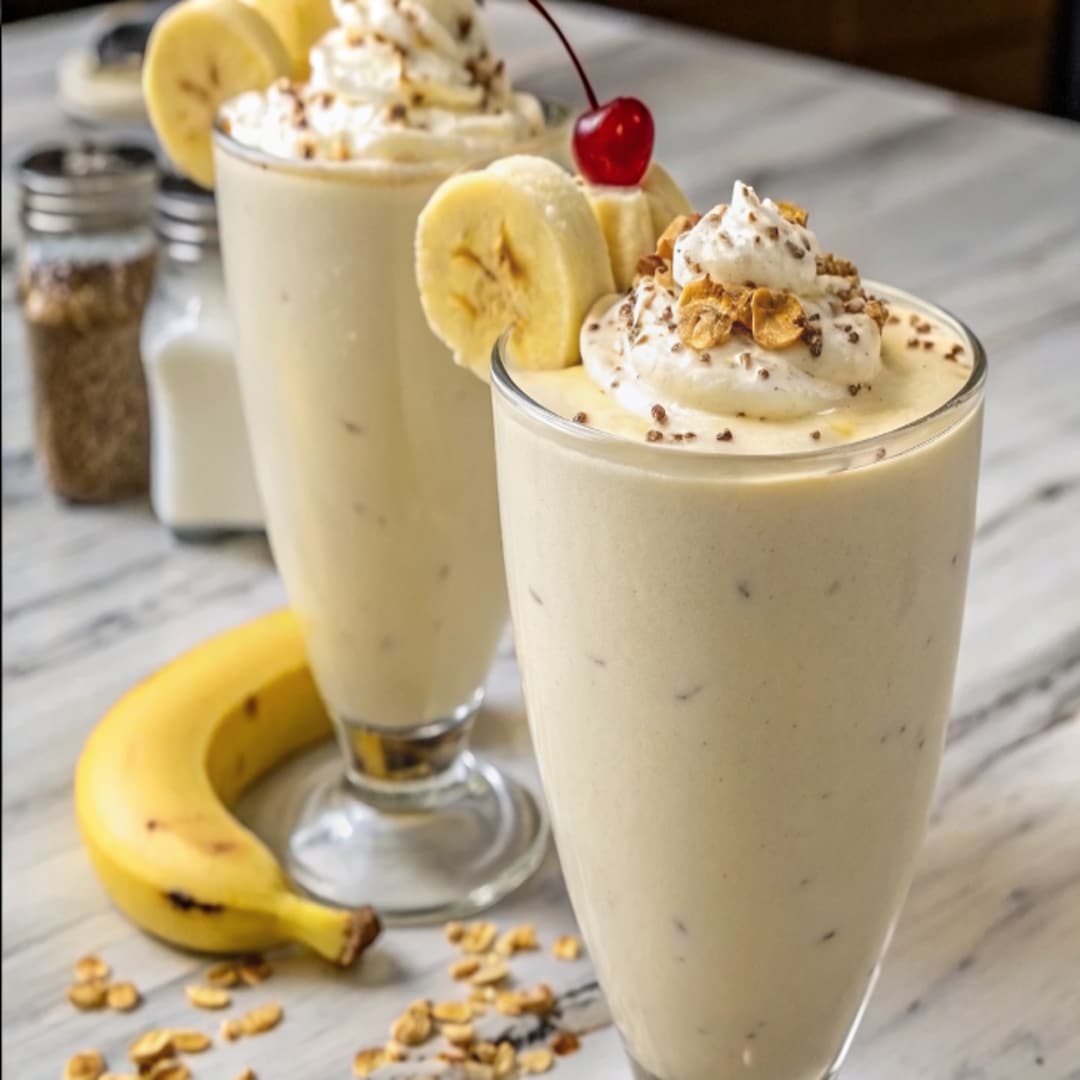
There’s something irresistibly nostalgic about a banana milkshake. Whether it’s the creamy texture, the mellow sweetness of ripe bananas, or the cool refreshment it brings, this classic American drink has a timeless charm. I remember standing on a stool in my grandmother’s sunny kitchen, eagerly watching her whirl together bananas and milk into a frothy treat. Her secret? Frozen bananas for that thick, milkshake-bar texture without needing ice cream.
Today, I’m sharing a recipe that captures that childhood magic—simple, wholesome, and adaptable for summer refreshment or winter indulgence.
Why You’ll Love This Homemade Banana Milkshake
- Naturally sweet and creamy
- Perfectly thick without ice cream
- Easily adaptable to dietary preferences (vegan, dairy-free)
- Made in just 5 minutes with 3 main ingredients
- Family-friendly and kid-approved
Whether you’re craving a cool pick-me-up in July or a cozy sip in January, this banana milkshake delivers on flavor and feel-good nostalgia.

Ingredients You’ll Need
To make 7 servings of this creamy delight, here’s what you’ll need:
Main Ingredients:
- 2 ripe bananas, peeled and frozen (fresh bananas can be used for a softer texture)
- 2 cups (480ml) whole milk
(You can substitute almond milk, oat milk, or soy milk for a dairy-free version.) - 2 tbsp (25g) honey or maple syrup (optional)
(For added sweetness if your bananas aren’t quite ripe enough.)
Optional Add-ins:
- 1 tsp vanilla extract (for extra warmth and depth)
- A pinch of cinnamon or nutmeg (especially cozy in winter)
- A scoop of vanilla protein powder (for a post-workout boost)
- Ice cubes (if using fresh bananas and you want a colder shake)
Kitchen Equipment Needed
- High-speed blender
- Measuring cups and spoons
- Tall serving glasses
- Straws (optional, but fun!)
How to Make a Homemade Banana Milkshake
Step 1: Prep Your Bananas
If you haven’t already, peel and slice your ripe bananas. For a thick, ice-cream-like consistency, freeze the banana slices for at least 2 hours.
Tip: Store pre-sliced bananas in a zip-top bag in your freezer. That way, milkshakes can happen anytime!
Step 2: Blend the Base
In your blender, combine:
- The frozen (or fresh) bananas
- 2 cups of milk
- Optional honey or maple syrup
Blend on high for 30-60 seconds until smooth and creamy.
Winter variation: Add a pinch of cinnamon or nutmeg to warm the flavor profile.
Summer twist: Toss in a few ice cubes or even a spoonful of Greek yogurt for extra chill and creaminess.
Step 3: Taste and Adjust
Taste the shake and adjust sweetness or consistency:
- Add more milk if it’s too thick
- Add more banana or sweetener if it’s too thin or not sweet enough
Step 4: Serve and Enjoy!
Pour into chilled glasses. Garnish with a banana slice or a sprinkle of cinnamon. Serve immediately.
Nutritional Benefits of a Banana Milkshake
Banana milkshakes aren’t just delicious—they’re also nutritious:
- Bananas: Rich in potassium, fiber, and vitamin B6
- Milk (or alt milk): Provides calcium, protein, and vitamin D
- Natural sweeteners: A healthier choice than refined sugar
This milkshake can be a smart snack, a post-workout drink, or even a healthy dessert.
Customize It: Flavor Variations
Make this classic your own with one of these delicious spins:
Chocolate Banana Milkshake
- Add 1 tbsp cocoa powder or a splash of chocolate syrup
Peanut Butter Banana Shake
- Add 1-2 tbsp peanut or almond butter for a protein-rich blend
Strawberry Banana Milkshake
- Toss in a handful of frozen strawberries for a fruity twist
- Green Banana Smoothie
- Add a handful of spinach and a scoop of protein powder for a meal replacement
Tips for the Perfect Milkshake
- Use ripe bananas: The more spotted, the sweeter and more flavorful.
- Go frozen: Frozen bananas create that thick, creamy milkshake texture naturally.
- Don’t overblend: Blend just until smooth to avoid overheating the shake.
- Make it vegan: Use oat or almond milk and skip the honey.
Storing & Making Ahead
Can I Make This Banana Milkshake in Advance?
You can blend it a few hours ahead and keep it in the fridge. Just give it a quick stir or shake before serving.
Can I Freeze a Banana Milkshake?
Yes! Pour leftovers into popsicle molds for a healthy frozen treat.
Serving Suggestions
Pair your banana milkshake with:
- Classic American grilled cheese
- Toasted peanut butter sandwich
- A slice of banana bread (double the banana love!)
- Breakfast oats or pancakes
FAQs About Banana Milkshakes
Can I use non-dairy milk?
Absolutely. Oat milk gives a creamy texture, while almond milk adds a nutty note.
Can I make this sugar-free?
Yes—just skip the honey/maple syrup and rely on the natural sweetness of ripe bananas.
Is it okay to use overripe bananas?
Yes! They’re perfect for milkshakes as they’re sweeter and blend smoothly.
Final Thoughts
Whether you’re sipping under summer sun or cuddled in a blanket during winter, this Homemade Banana Milkshake is pure comfort in a glass. With only a few wholesome ingredients and a blender, you can enjoy a thick, creamy, and flavorful drink any time of the year.

