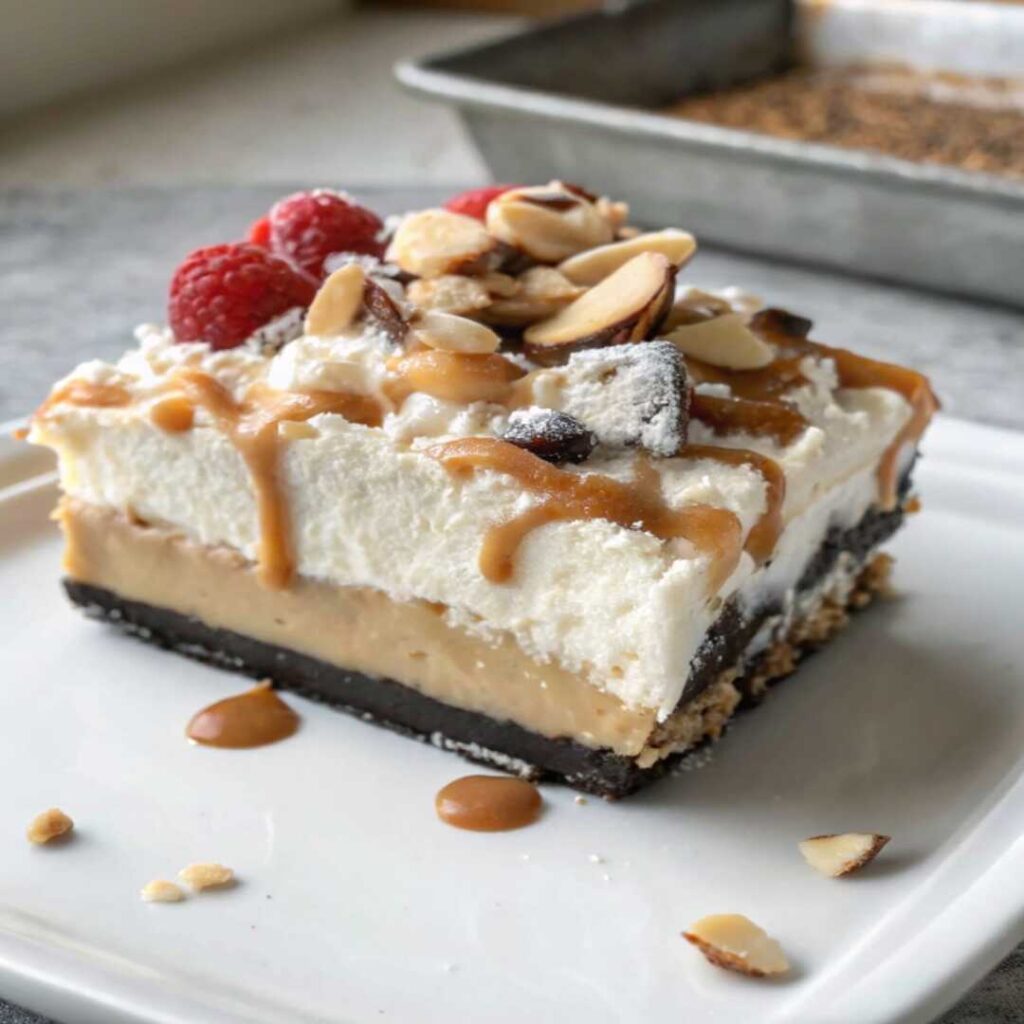
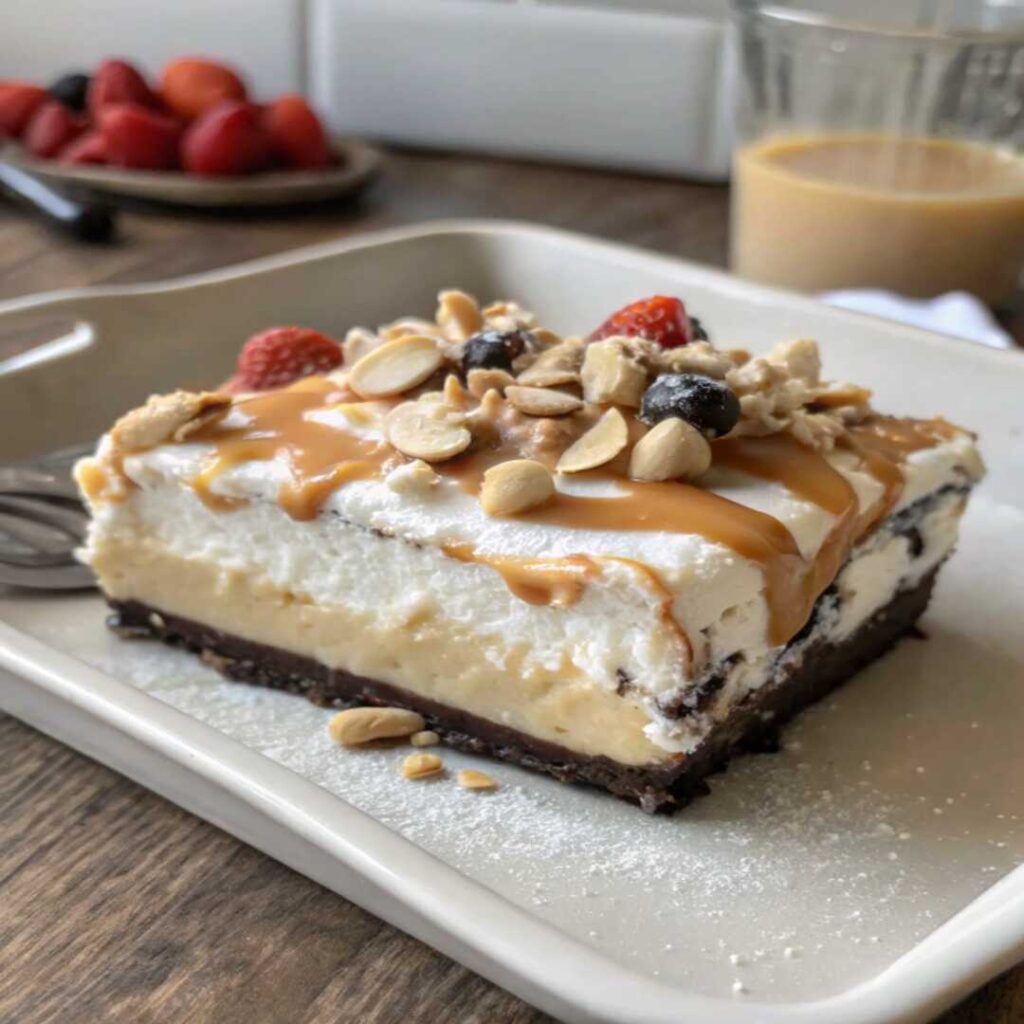
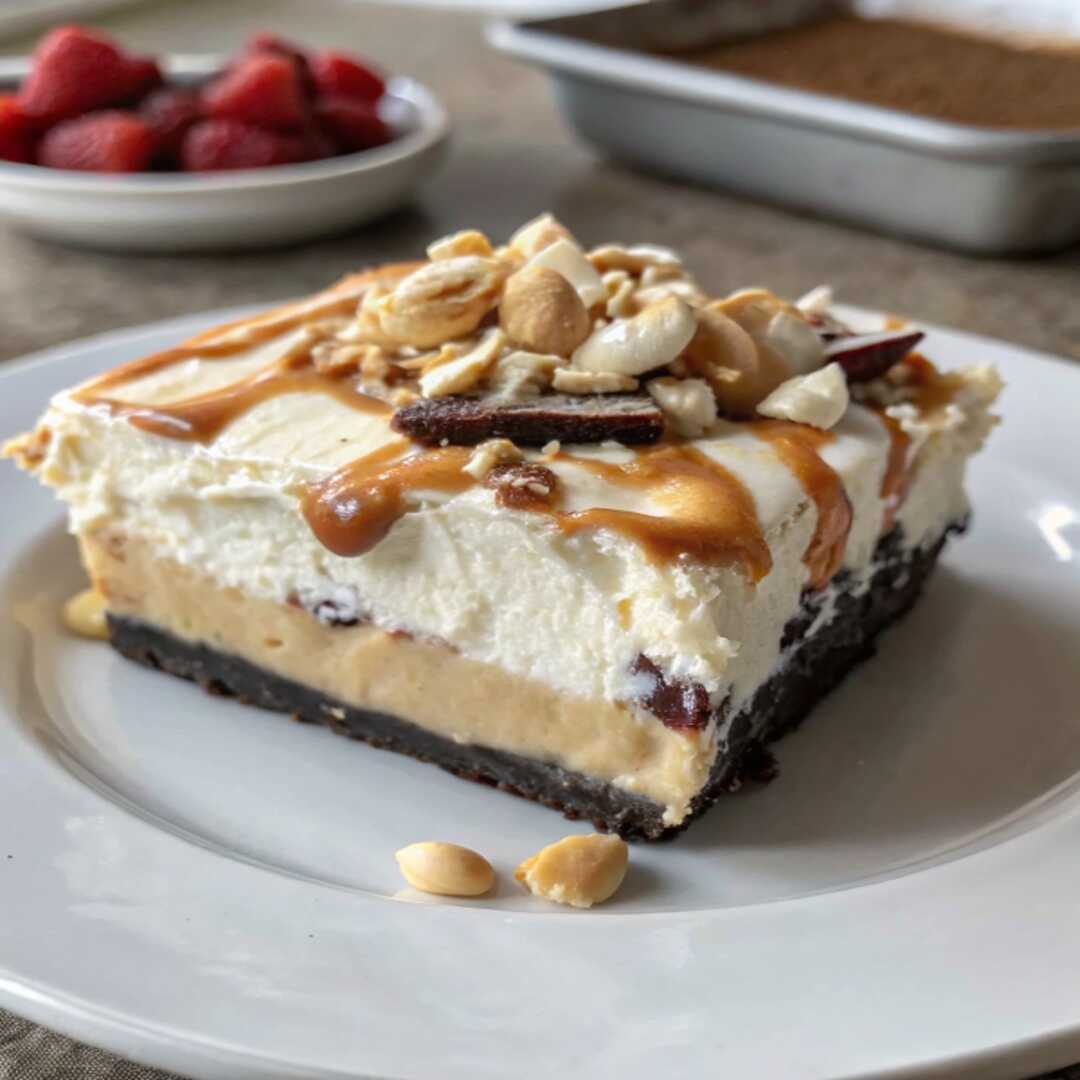
There’s something incredibly nostalgic about a Frozen Mud Pie. Personally, it takes me back to childhood summers spent in my grandmother’s backyard in Ohio. Although she wasn’t Italian like my mom’s side, she knew her way around chocolate and coffee desserts. Because of that, this recipe is a loving tribute to her—layered, luscious, and best enjoyed with family.
Whether you’re enjoying it after a sun-soaked BBQ or serving it as a cool contrast during holiday dinners, this classic American dessert is always a hit.
Why You’ll Love This Frozen Mud Pie
- First and foremost, it’s a no-bake dessert.
- Secondly, it’s rich and creamy with the perfect crunch.
- It’s also easy to make ahead.
- Best of all, the combination of chocolate, coffee, and whipped cream is unforgettable.

Ingredients
For the crust:
- 24 chocolate sandwich cookies (such as Oreos), crushed
- 4 tablespoons unsalted butter, melted
For the coffee ice cream layer:
- 2 cups premium coffee ice cream, slightly softened
For the chocolate fudge layer:
- 1/2 cup heavy cream
- 1 cup semi-sweet chocolate chips
- 1 tablespoon unsalted butter
- 1 teaspoon vanilla extract
For the whipped topping:
- 1 cup heavy cream
- 2 tablespoons powdered sugar
- 1/2 teaspoon vanilla extract
Optional garnishes:
- Chocolate shavings
- Crushed cookies
- Chocolate sauce drizzle
- Espresso beans or cocoa powder
Instructions
Step 1: Prepare the Crust
To begin, crush the cookies in a food processor until you have fine crumbs.
Next, combine the crumbs with the melted butter and stir until the mixture is evenly moistened.
Then, press the mixture into the bottom and sides of a 9-inch pie pan.
Afterward, place the crust in the freezer for 15 minutes so it can firm up.
Step 2: Add the Ice Cream Layer
Once the crust has set, evenly spread the softened coffee ice cream over the base.
Be sure to smooth the top before placing the pie back in the freezer.
Ideally, let it chill for at least an hour or until completely firm.
Step 3: Make the Chocolate Fudge Layer
Meanwhile, prepare the fudge sauce.
In a small saucepan, heat the cream over medium heat until it just begins to simmer.
Immediately remove it from heat and stir in the chocolate chips, butter, and vanilla until smooth.
Allow the sauce to cool for a few minutes before pouring it over the ice cream layer.
Once added, return the pie to the freezer for another 30 minutes.
Step 4: Whip and Top
While the pie is chilling, use a chilled bowl to whip the cream, powdered sugar, and vanilla together.
Continue whipping until stiff peaks form.
Then, either spread the whipped cream over the pie or pipe it on for a decorative finish.
At this point, you can garnish with chocolate shavings, crushed cookies, or anything else that speaks to your sweet tooth.
Step 5: Final Freeze and Serve
For best results, freeze the pie for an additional 1–2 hours until it’s completely set.
Before serving, let it sit at room temperature for 10 minutes to soften slightly.
Finally, slice and serve, ideally with a fresh coffee or a tall glass of milk.

Seasonal Tips
For summer:
To add a refreshing twist, consider incorporating crushed peppermint candies or a swirl of berry compote.
For winter:
Try mixing a dash of cinnamon or nutmeg into the whipped topping for a seasonal aroma and flavor.
Storage Tips
To store, wrap the pie tightly with foil or plastic wrap.
Then, place it in the freezer where it will stay fresh for up to one week.
This makes it a great option for preparing ahead of time for parties or holidays.
Reader Tips & Twists
Some readers love swapping the coffee ice cream for chocolate chip or even peanut butter swirl for added richness.
Alternatively, try making the crust with crushed graham crackers or nuts if you want something slightly less sweet but equally satisfying.
Final Thoughts
All things considered, Frozen Mud Pie is one of those timeless desserts that blends simplicity with showstopping appeal.
It’s easy enough for beginners yet impressive enough for guests.
More importantly, it’s the kind of dessert that lingers in memory long after the last bite.
So, if you make it, I’d love to hear how it turned out!
Don’t forget to share your photos or tweaks in the comments or tag me online.

