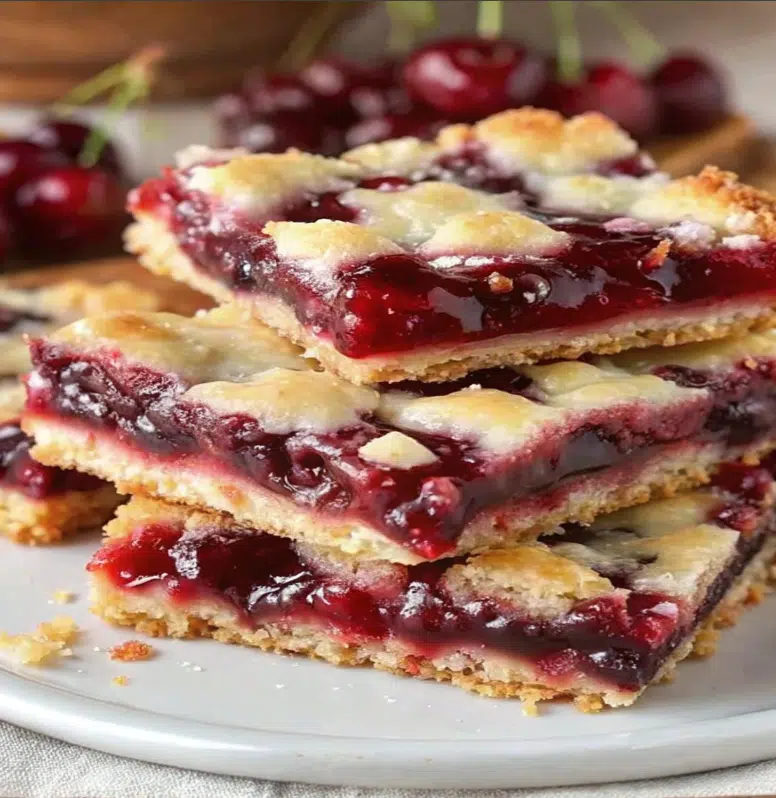
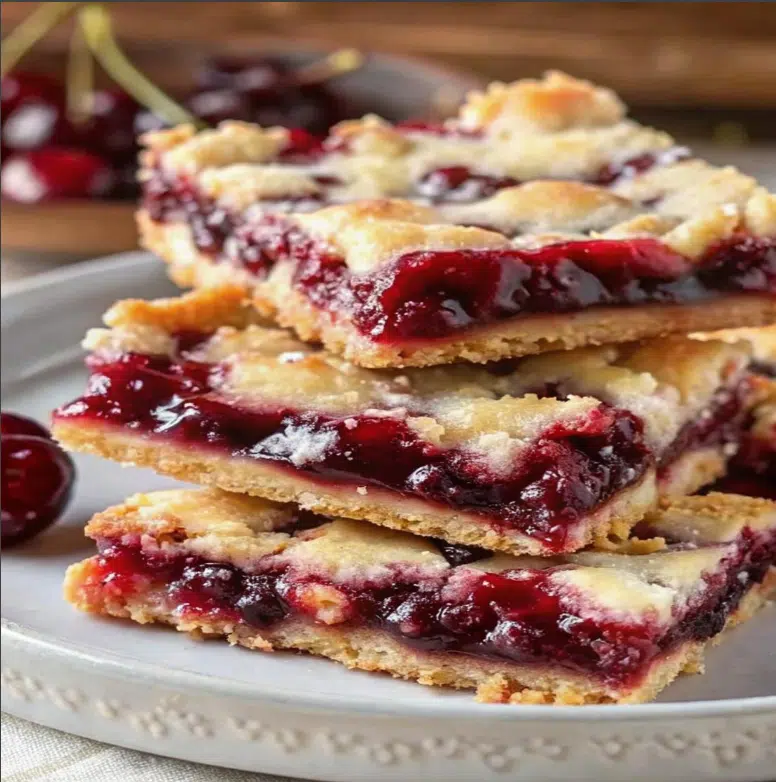
There’s nothing quite like biting into a homemade cherry pie bar—the buttery crust, the juicy cherry filling, and that sweet-tart contrast that dances on your tongue. Growing up, my mom used to bake these Cherry Pie Bars – Sweet, Tart every 4th of July and again in December for cookie trays. They were always the first to disappear.
This recipe has all the nostalgic flavor of a classic cherry pie but comes in an easier, portable, and shareable bar form. It’s the kind of treat that works for sunny picnics and chilly nights alike. With a soft, buttery base and bright cherry topping, these bars are as beautiful as they are delicious.
Why You’ll Love These Cherry Pie Bars – Sweet, Tart
These cherry pie bars are:
- Bursting with flavor: The balance of sweet and tart cherries makes every bite pop.
- Simple to make: No pie crust needed!
- Perfect for all seasons: Summer picnics or holiday baking trays.
- Portable and crowd-pleasing: Ideal for potlucks, BBQs, and family gatherings.

Ingredients
Here’s what you’ll need to create 7 servings of these delicious Cherry Pie Bars – Sweet, Tart:
For the Base and Crust:
- 1 cup (225 g) unsalted butter, softened
- 1 3/4 cups (350 g) granulated sugar
- 4 large eggs
- 1 tsp vanilla extract
- 1/2 tsp almond extract
- 3 cups (360 g) all-purpose flour
- 1/2 tsp salt
For the Filling:
- 1 can (21 oz / 595 g) cherry pie filling
- Optional: Add 1 tsp lemon zest to enhance tartness
For the Glaze:
- 1 cup (120 g) powdered sugar
- 2–3 tbsp milk
- 1/4 tsp vanilla or almond extract
Instructions
Step 1: Prepare the Batter
- Preheat your oven to 350°F (175°C). Grease or line a 9×13-inch baking pan.
- In a large bowl, cream together the butter and sugar until light and fluffy (about 2–3 minutes).
- Add eggs one at a time, beating well after each addition.
- Stir in vanilla and almond extracts.
Step 2: Combine the Dry Ingredients
- In a separate bowl, whisk together the flour and salt.
- Gradually add dry ingredients to the butter mixture and mix until combined.
Step 3: Assemble the Bars
- Spread about two-thirds of the batter evenly into the prepared pan.
- Spoon cherry pie filling over the batter, spreading gently to cover.
- Drop spoonfuls of the remaining batter over the cherry layer—don’t worry if it doesn’t cover completely.
Step 4: Bake and Cool
- Bake for 35–40 minutes, or until golden and set.
- Let cool in the pan for at least 30 minutes before drizzling with glaze.
Step 5: Make the Glaze
- In a small bowl, whisk together powdered sugar, milk, and extract until smooth.
- Drizzle over the cooled bars before slicing.
Seasonal Tips
Summer:
- Use fresh cherries if in season. Simmer with sugar and cornstarch for a homemade filling.
- Pair with lemonade or iced tea for a refreshing treat.
Winter:
- Add a pinch of cinnamon or nutmeg to the batter.
- Serve warm with a dollop of whipped cream or vanilla ice cream.
Make-Ahead & Storage
- Storage: Store in an airtight container at room temperature for up to 3 days or refrigerate for 5 days.
- Freezing: Freeze unglazed bars for up to 2 months. Glaze after thawing.
- Make-Ahead Tip: Bake a day ahead for best flavor; they slice even better once cooled completely.
Variations to Try
- Chocolate Cherry Bars: Stir in chocolate chips or drizzle melted dark chocolate on top.
- Coconut-Cherry Twist: Add shredded coconut to the batter or sprinkle on top before baking.
- Berry Medley: Use mixed berry pie filling instead of just cherry.
Serving Ideas
These Cherry Pie Bars – Sweet, Tart shine solo but are also lovely with:
- Fresh whipped cream or a scoop of vanilla bean ice cream
- A hot mug of coffee or cold brew
- A side of cheddar cheese (yes—it’s a Midwest thing!)
Reader Q&A
Can I make these gluten-free?
Yes! Use a 1:1 gluten-free baking flour. Make sure it includes xanthan gum.
Can I use homemade cherry pie filling?
Absolutely. Just be sure it’s thickened and fully cooled before spreading it over the base.
Can I double the recip
Yes, this recipe scales beautifully. Use a larger baking pan (or two) and increase baking time slightly.
Final Thoughts
Whether you’re baking for a picnic or preparing your winter dessert spread, these Cherry Pie Bars – Sweet, Tart deliver on flavor, texture, and charm. They’re easy to transport, easy to love, and easy to make again and again.
This recipe is one I’ll always hold dear—passed down, baked often, and shared with the best people. I hope it brings the same joy to your kitchen.

